Cloning a Repository#
This page will show you how to use the GitHub GUI software to clone a repository. Cloning is the process of duplicating not only the files, but also the record of all changes that have been made to those files in the past (that’s what the git software is doing!). Because the history of these files is preserved, even if we make changes to these files in one of the repositories, the git software will provide a way to update the other software some time in the future. This allows multiple people to work on the same files at the same time; or, you as an individual to work on the same files using several different computers (e.g., a work and home laptop).
Creating several a clone of a repository allows us to also provide a backup of our files (and their history) in case we lose access to the originals (perhaps your computer breaks, or is stolen). It is a great idea to have a copy of the repository in the cloud, which automatically provides a very reliable file storage location. This is one of the key services that companies like GitLab and GitHub provide.
In practice we refer to the repository stored on our computer as the local repository. This is where we typically spend most of our time working on our code, debugging it and running analysis. It is where you will be spending most of your time working on your MUDE assignments.
The repository on GitLab is our remote repository. This can be considered the backup of the files in our repository. When working with multiple people, it can also be considered the most current version of the project. For example, you may be working on improving the plots in your assignment, whereas a colleague is updating the Pyhton script running your model. You will use the local repository to develop your particular task, and the remote repository to collect everyone elses work and deploy it to your local computer (if you need to use it there).
After completing this page, you will be able to clone the remote repository to your computer with the click of a button. Later pages will show you how to push your local changes back to the remote, which is how you will submit your assignments for grading.
Opening the GitHub GUI#
Upon opening the GUI software, we see that the first thing that is needed is to add a repository (Fig. 47). We will use the “from the internet” option, but before we do that, we have to get the address from our GitLab account.
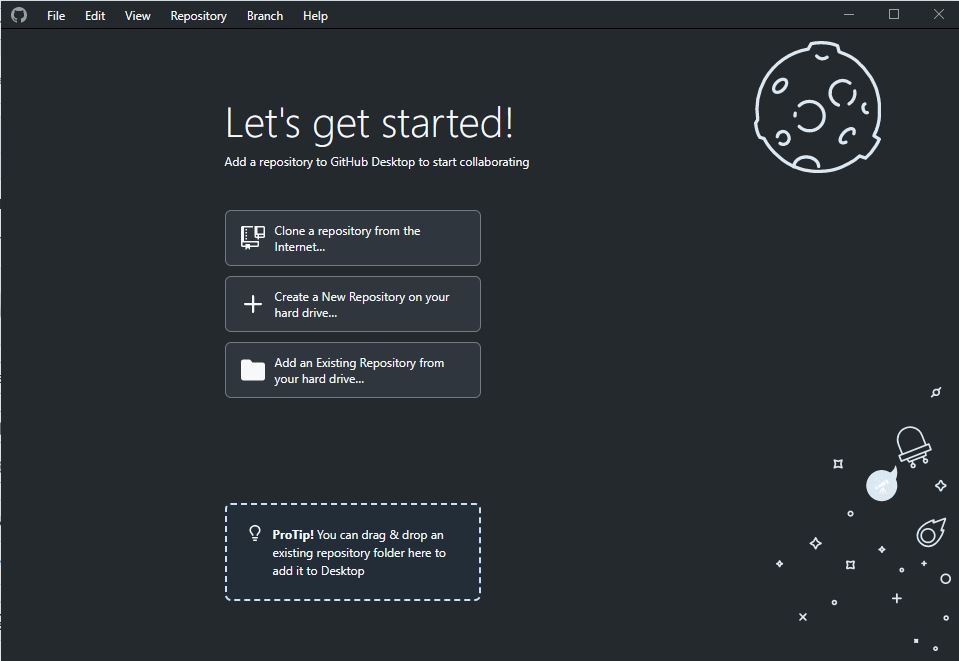
Fig. 47 Opening the GitHub GUI for the first time–we need to add a repository.#
Visit the repository you would like to clone to your computer on GitLab. As illustrated in Fig. 53, you can see a bright blue button “Clone” on the home page of the repostory.
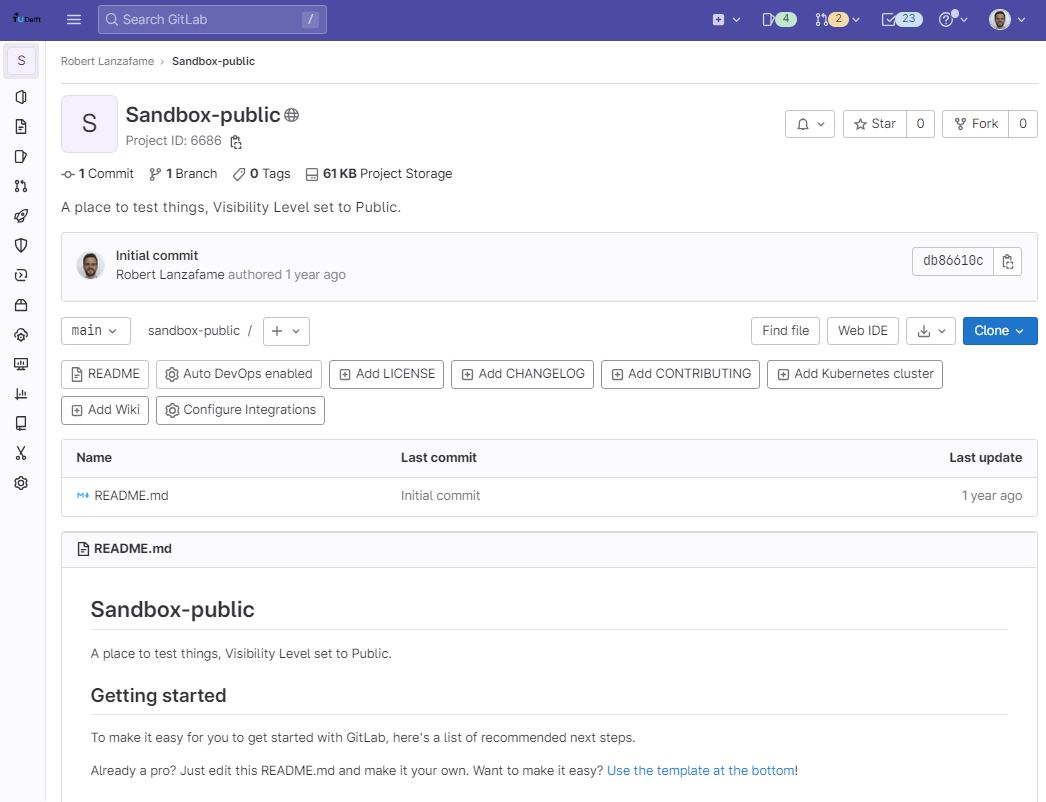
Fig. 48 Home page of the repository; note the “Clone” button.#
Get the SSH address#
To clone the repository, we need the address–its location on the internet. There are several ways to do this, but the most secure is using SSH. As illustrated in Fig. 49, under “Clone with SSH,” click the icon to copy the URL to your clipboard, then go back to the GitHub GUI.
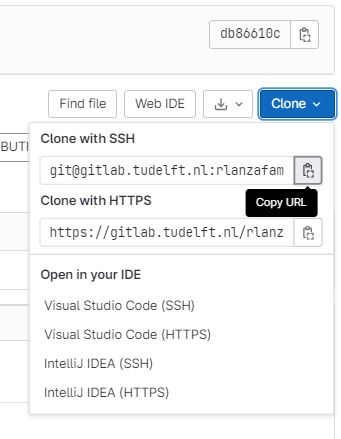
Fig. 49 Copy SSH address of repository to your clipboard.#
Set the local path#
Now you are ready to click the “Clone a repository from the Internet” option in the GUI (Fig. 47), which will open a window asking you to enter the address of the remote repository, after selecting the “URL” tab (Fig. 50). Paste the address you copied from GitLab into the first field (the URL). Then select the location where you would like the local repository to be located, the “Local path.”
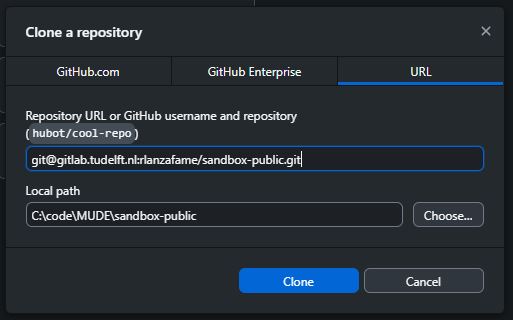
Fig. 50 Enter the URL of the remote repo and the path of the local repo.#
As you can see in Fig. 50, we have chosen to put the MUDE directory in the place where we store all code on the C drive, C:\code\MUDE. You don’t need to create a new folder for the repository (e.g., sandbox-public in this example) because the process of cloning a repository will do that automatically. You can confirm this by seeing that the example in Fig. 50 shows C:\code\MUDE\sandbox-public instead of C:\code\MUDE\sandbox-public\sandbox-public.
Where to put your local repositories
We strongly encourage you follow these pieces of advice:
Do not store your local repositories in a location that is backed up using cloud software (e.g., OneDrive, Dropbox, etc). This often interferes with the functioning of git. Instead, we will push to the remote repositories to backup our work.
Do not store your local repositories in locations with spaces in the file path, especially on Windows. While there are ways to deal with this if it happens, you will save yourself trouble down the line if you avoid using spaces in your folder and file names.
Do store your local repositories for your proejct in an organized way. We advise creating a main directory, where each of the sub-directories would be a local git repository. Here is an illustrationg of such a structure for your working directories:
.
├── coding_projects
│   ├── Project_1
|   ├── ...
|   ├── Week_1_1
|   ├── ...
|   ├── Week_1_4
│       ├── PA04.ipynb
│       └── ...
│   └── ...
Creating the clone#
At this point you can create the local repository by clicking “Clone,” which will start the process of downloading the files from GitLab to your computer at the location you chose for local path.
Note
If you were not successful in creating an SSH key and linking it to your GitLab account, this is when you will find out, as a message like this will appear:
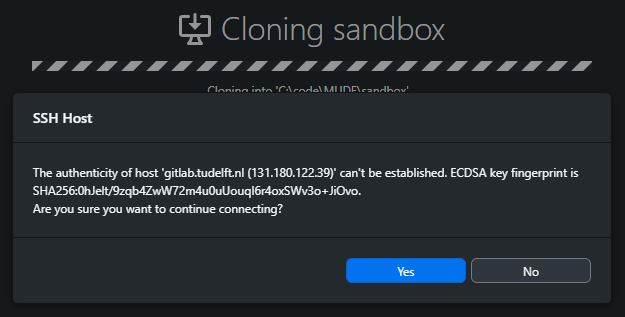
Fig. 51 Error message due to failed SSH setup.#
If this happens, go back to the SSH setup instructions
If you were successful in cloning the repository, you will see something similar to Fig. 61. Now we are ready to work on the files and preserve the changes by making our first local commit!
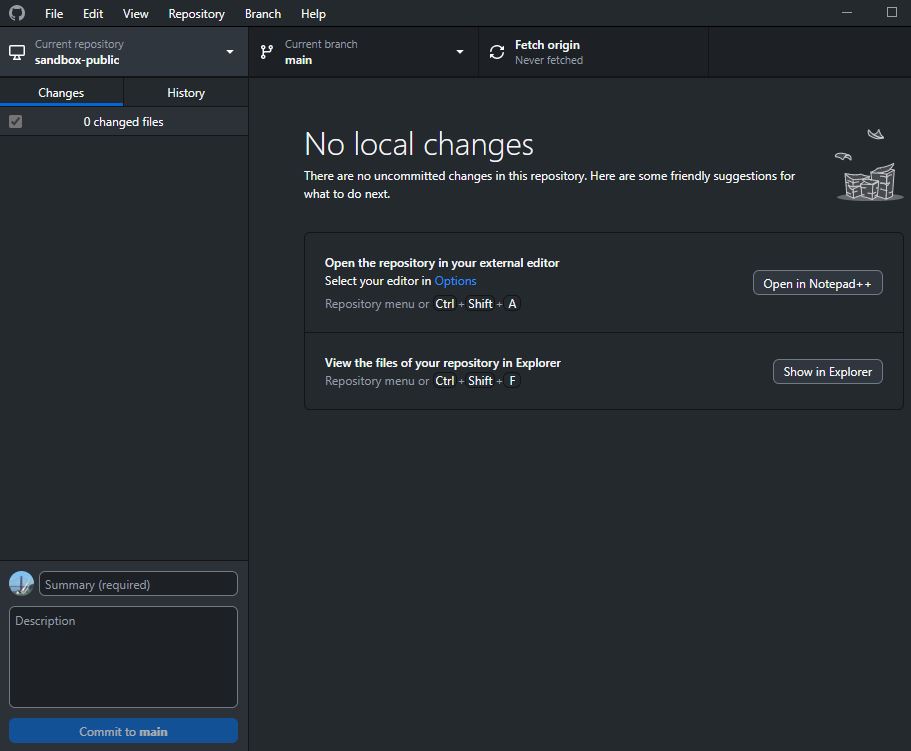
Fig. 52 View of the local repository, successfully cloned from the remote on GitLab.#